
A handmade wood-burned garden sign is an easy way to personalize a patio, raised bed, herb garden, or backyard entrance. If you are improving a small growing area, see our guide to a small-space vegetable garden for more practical ideas. This beginner-friendly pyrography project uses scrap wood, a wood-burning tool, and a simple design. You do not need expensive lumber: a clean, dry offcut can create a rustic finish that suits a cottage or vegetable garden.
Materials and tools
- Clean, untreated, dry scrap wood
- Wood-burning pen with a rounded or calligraphy tip
- Fine-grit sandpaper and a clean cloth
- Pencil and ruler
- Printed lettering and graphite transfer paper, optional
- Eye screws and garden twine or outdoor-rated hanging hardware
- Protective finish suitable for the intended outdoor use, optional
- Safety glasses and heat-resistant stand for the tool
Step 1: Choose and prepare the wood
Choose a flat piece of untreated wood with no paint, stain, preservatives, or unknown coatings. Never burn treated, painted, or varnished wood because heating these materials can release hazardous fumes. Sand the surface until it is smooth enough for clear lettering, then remove the dust with a clean, dry cloth.
Step 2: Plan and transfer your design
Keep the first design simple: try “Welcome,” “Herbs,” “Grow,” or the name of a planting bed. Sketch the lettering lightly in pencil, or place graphite transfer paper beneath a printed design and trace the outlines. Leave a little space around the words so the finished sign is easy to read from a distance.
Step 3: Burn the lettering safely
Work in a well-ventilated area on a stable, heat-resistant surface. Follow the tool manufacturer’s instructions, keep the hot tip away from skin and flammable materials, and rest the tool only on its proper stand. Let the tool reach its recommended temperature before you begin. Use slow, even strokes and keep the tip moving; lingering in one place can create an overly dark spot. Practice on a scrap piece first.
Step 4: Add shading and finishing details
Once the outlines are complete, add small strokes or dots to fill thicker letters. Build up darker areas gradually rather than pressing hard. Allow the sign to cool completely before brushing away residue or handling the hot tool. If you want to add leaves, flowers, or a border, test the design on scrap wood before working on the final sign.
Step 5: Make the sign ready for the garden
For hanging, install eye screws only if the wood is thick and sound enough to hold them securely. Tie on garden twine for a rustic look, or use suitable outdoor-rated hardware. If the sign will be exposed to rain and sun, choose a compatible exterior finish and follow its label. No coating makes wood maintenance-free, so inspect the sign periodically and refresh the finish when needed.
Common mistakes to avoid
- Burning painted, pressure-treated, glued, or chemically treated wood.
- Working without ventilation or leaving the hot tool unattended.
- Using a complicated design before practicing on scrap wood.
- Applying a finish before the wood has cooled and been cleaned.
- Assuming an indoor finish will protect a sign outdoors.
Frequently asked questions
What is the best wood for a beginner wood-burning sign?
Choose clean, untreated, dry wood with a relatively smooth surface. Many beginners practice on basswood, but suitable scrap wood can also work if its source and treatment are known.
Can a wood-burned sign stay outside?
Yes, but sun, moisture, and temperature changes can fade the design or damage the wood. Use an exterior-suitable finish, install it securely, and check it regularly.
Is wood burning safe indoors?
Use strong ventilation and burn only clean, untreated wood. Follow the tool instructions and never burn painted, coated, or treated material. If you cannot ventilate the workspace properly, move the project outdoors.
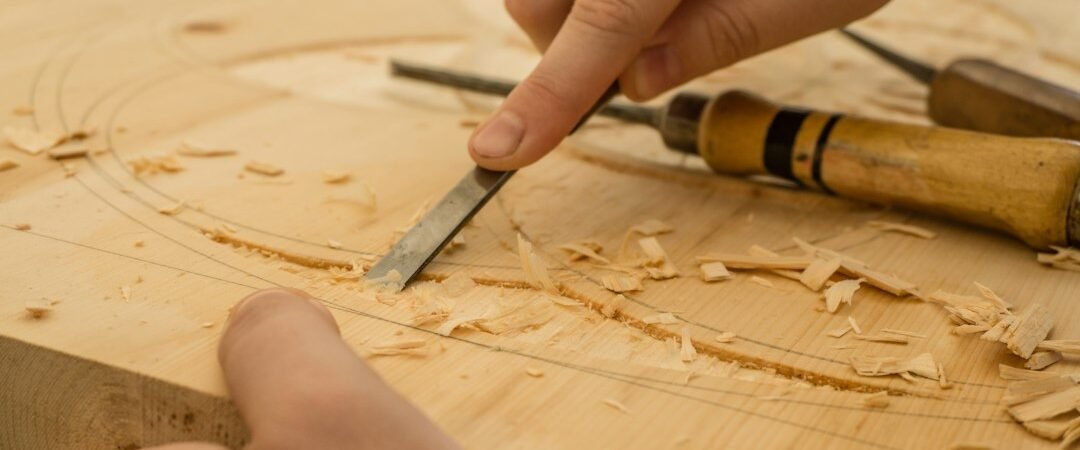
Image note: The project photographs illustrate the process. The featured image is a general woodcraft visual; always follow your specific tool’s safety instructions.